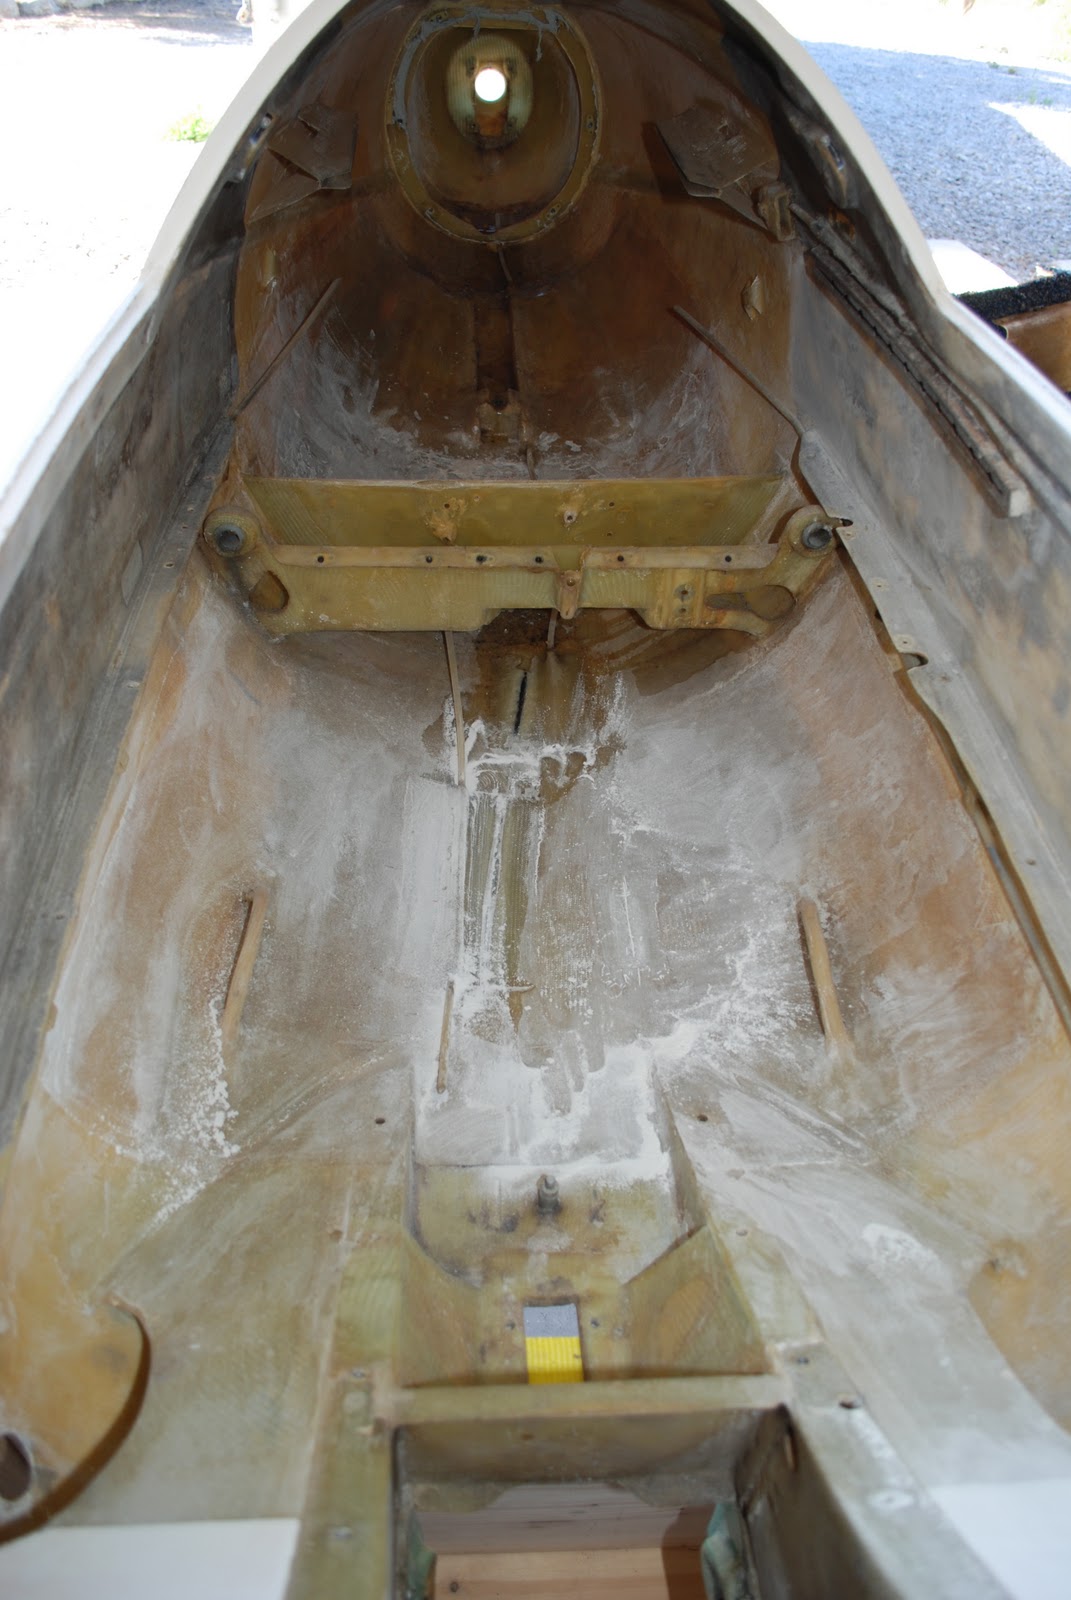
 After correcting the problem with my fuselage cradle, I removed the seat pan. It is now quite apparent that the cockpit belly was subjected to a gear up landing. Another bit of damage history omitted from the records.
 During my pre-buy inspection, I did not know what I was looking for, but seeing the mis-matched fiberglass inlaid is very noticeable.
More lessons learned.
I removed the seat back completely by cutting the steel cable, and placed all of the fittings and nuts and bolts into marked Tupperware containers.

I inspected the seat back. The old polyester resin repair job was separating and I will need to grind it off and repair the damage with the correct material.
Another point noted in my pre-sale inspection was that Charlie stated that the mechanical vario wasn't working for quite some time, and that he relied on the Audio during his flights. Right after I removed the seat pan, I noticed something unusual about the condition of the plastic tubing for the pitot static system.

The T-connector for the tubing that supplies air from the TE probe to the Vario's was disconnected (note the red circle) ... Gee do you think that could be the reason why the mechanical vario wasn't working! I'm surprised that the audio vario worked as well!

As I nosed around inspecting the Pitot Static / TE probe tubing, I found a Thermos bottle attached to the tubing, glued behind the seat bulkhead and against the outer wall of the main wheel well. It was crudely glued and taped together. This was being used as the capacity flask for the TE / Vario system.

This seemed to be to be an unusual item to be used as a capacity flask, but then again. It was officially certified, I think??? The thermos had a label on it identifying it as a certified part, well kind'a.
Robert came by the house to check on my progress. As he looked at the nose and inspected the tow release, he stated, "yep, that's the original release and it needs to be replaced". It's a PTT looking for a place to happen!


The next focus was to remove the stick and the linkage's that followed back to the aileron controls and elevator.

It was a chore to remove the stick in such a tight spot, but I now had room to remove the pedals and the nose bulkhead. I next removed the electrical wiring (which was not aviation grade material) and the tubing for the Pitot Static system and TE probe.
The pedals came out easily. They are held in with one bolt. I just needed to cut the steel cables, and they too were free. The next task was to create a tool to allow me to reach in three feet and pull off the nose bulkhead.  I had to create a rod with a flat-angled knife edge to remove the sealant around the bulkhead, and then use the same blade to pry the bulkhead off.
 I had to create a rod with a flat-angled knife edge to remove the sealant around the bulkhead, and then use the same blade to pry the bulkhead off.
 This task is not for the faint of heart! It was a royal bitch to get it off. The bulkhead is held in with six bolts, and a thick seal of what looks like plumbers putty.
Once that was accomplished, I was able to take the bolts off of the nose release hook. But before the hook would come free, I had to cut the Bondo away from the nose ring that completed a lip in the nose opening.

By the weekend of May 15th, I had removed the landing gear actuation rod and the control rod for the airbrakes. I also removed the CG hook release.


Once I completely gutted the cockpit , I started sanding down the loose fiberglass on the floor and cut away the mounting blocks and bolts for the lead weights.
But my life and project were due for a shake up in the weeks to come!
Thanks for nice sharing
ReplyDelete