Here is that story:
Through the month of July and August, between painting parts, and sanding the fuselage, I sanded the gelcoat off of the rudder.

As mentioned in a previous post, the rudder trailing edge was damaged.

For those who plan on doing the same in the future,
Please take note! You need to do a weights and measures - limits on all control surfaces before starting anything. I did not know this until after the facts. There are no documentation standards on these surfaces.
 The gelcoat on these surfaces went deep in to the upper first layer of fiberglass cloth. The downside of removing the gelcoat is, there is only a thin layer of fiberglass between the gelcoat and the balsa layer. And I do mean thin layer. That layer seamed no thicker than a human hair. Removing the gelcoat exposed the balsa core underneath.
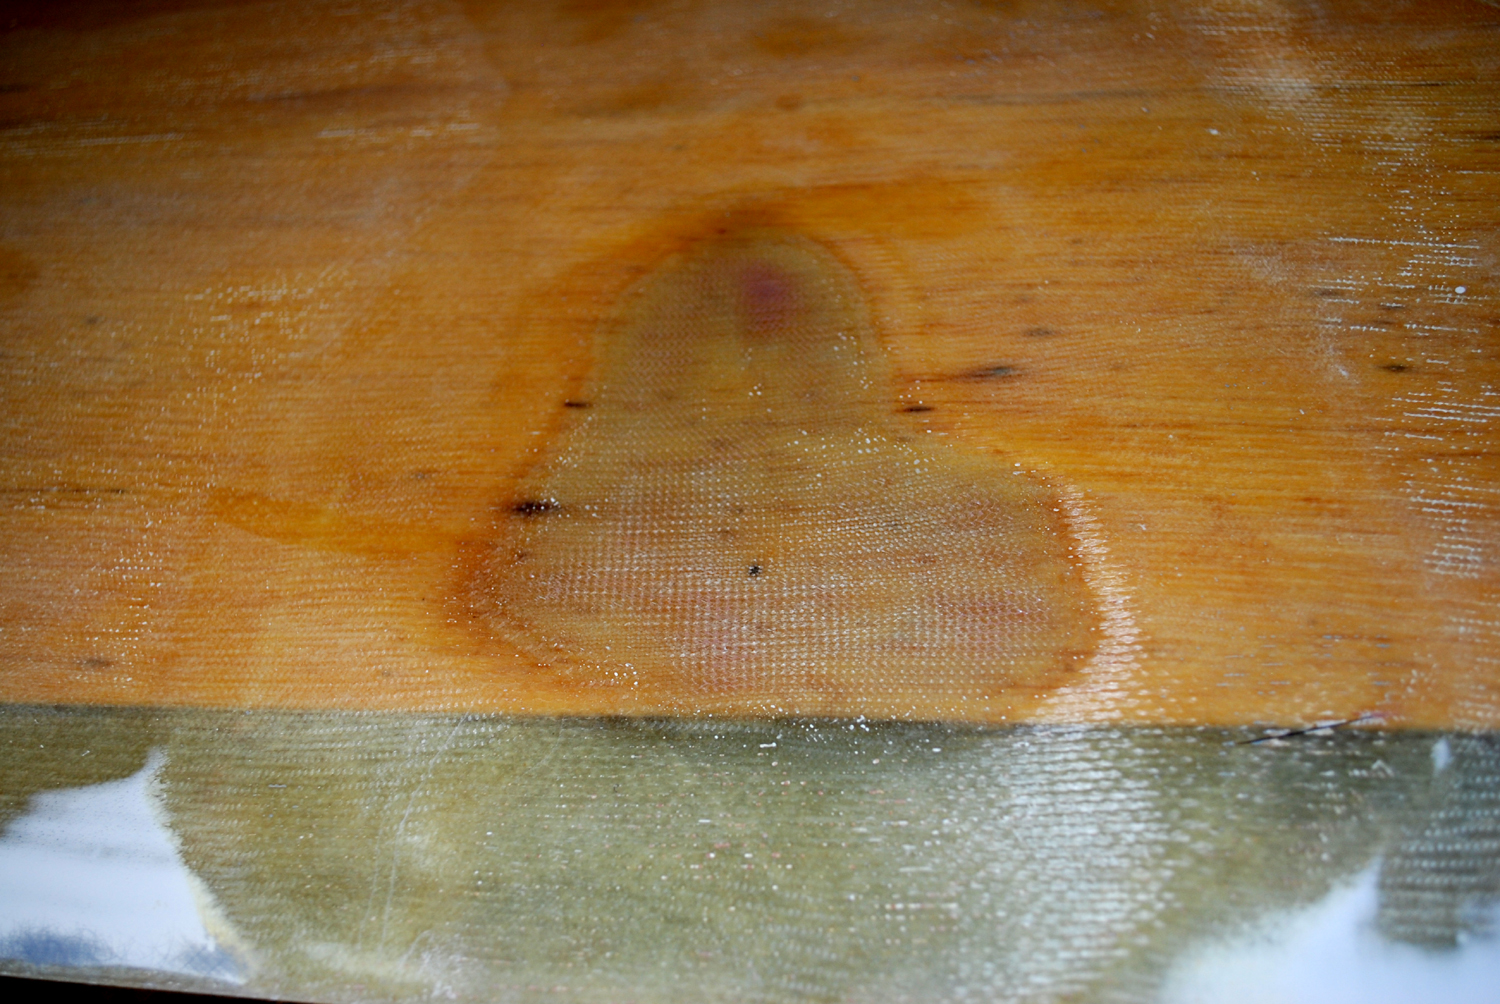
 There were layers of filler that were cracked to the balsa on the trailing edge. As I was sanding the filler away, I started to notice the balsa layer peeking through. Oops!, Too late!
The light colored areas in this photo is the now exposed balsa.
But, the rudder is done, ready to be repaired and then painted.
But, the rudder is done, ready to be repaired and then painted.

Working on the horizontal stabilizer was a real treat too, (I'm being sarcastic). There were chunks of gelcoat popping off of the top and bottom flared edges of the fairings.

Some of the chunks popped off when I was traveling back from picking up the glider.

Robert instructed me to remove all or the gelcoat and filler on the fairings so we can properly repair the damage.

So, I started the process of removing the gelcoat.
I also noticed that the horizontal Stab was heavier on the left side. So, out of curiosity, I tried to balance the stabilizer, but found instead, the stabilizer was off balance on the side of the repair.
As I sanded , removing the gelcoat, I notice our good friend primer covering almost the entire surface of the top skin. And as I cut through the gray, that micro bubble filler appeared. Here was the evidence on side of the stabilizer that was repaired after the hard landing back in 1977.
As I sanded , removing the gelcoat, I notice our good friend primer covering almost the entire surface of the top skin. And as I cut through the gray, that micro bubble filler appeared. Here was the evidence on side of the stabilizer that was repaired after the hard landing back in 1977.
There was a lot of filler used to correct the botched patch, but I was not prepared for the larger repair on the other side....

So, being a glutton for punishment, I flipped the stabilizer over and started removing the surface paint, then the gray primer, and a ton of filler, to find this mess!


This is why the stabilizer was so heavy on the left side. A side from the filler, there is a heavy coat of resin and fiberglass cloth, and what is with the balsa planks. It looked like floor planks!
I showed the stabilizer to Robert, and he stated that this could be redone, but we would need to get a copy of the lay-up schedule from Streifeneder. So, I was off to email Streifeneder for help.
Since the horizontal stabilizer is symmetrical, we will create a mold of the upper right surface to create a copy of the skin to replace this picnic table plank look-alike!
After all is said and done, I hope the re-repair will return the stabilizer to its proper balance.

The underlying fiberglass was in fair condition. There was a lot of gelcoat, but there were areas filled with bondo too. The Bondo popped off most of the areas that required filling, but other areas were stubborn to remove.
Fall is coming to a close, and Winter is setting in. My garage and work area are becoming too cold to work in. I have tried using electric heaters, but it is still too cold to allow me to contiue working on the horizontal stabilizer and elevators.
I will continue on some of the lesser clean up during the breaks in the cold spells.
And in closing of this post, I'm employed again!. After almost four months, I'm back to work.
No comments:
Post a Comment