It has been an interesting journey to get this far in the project.
The left side of the cockpit showed some stress ware in the glass where the airbrake handle was. I sanded down the inside and prepped the surface to lay in a couple of plys of E-120 fiberglass.
 After the glass was applied to the inside, I covered the glass with peel ply, and squeegeed the excess resin off.
The seat belt loops were uneven and full of deep grooves.
After filling the grooves with a flock thickened resin, they were sanded smooth. A coating of primer was used to finish them off. I also primed the area around the loops that were visible though the seat pan.
The areas that were not intended to be painted were masked off with painters tape.The sides were then primed, sanded and prepped again.
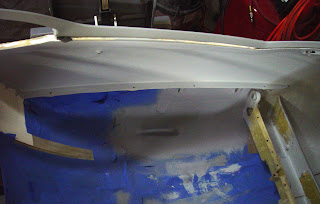
The floor of the nose was primed and sanded smooth.
The final priming and finishing of the cockpit prior to painting.
Right side
Then nose interior primed.
The finish is more glossy than satin.
I dropped in the seatpan to see if the masked areas were visible.

The last part to be painted was the nose bulkhead for the Pitot pot.
Time is getting closer to start reassembing the glider.
Tick Tock, Tick Tock!


No comments:
Post a Comment