Welcome to a work in progress

This blog is dedicated to the restoration and modification of a Glasflügel Standard Libelle H201B, and a tribute to those who have dared to do the same, and to those who are helping with seeing this dream take flight.

Wednesday, December 1, 2010

Surprise, surprise, surprise! Part 2

After correcting the problem with my fuselage cradle, I removed the seat pan. It is now quite apparent that the cockpit belly was subjected to a gear up landing. Another bit of damage history omitted from the records.


During my pre-buy inspection, I did not know what I was looking for, but seeing the mis-matched fiberglass inlaid is very noticeable.
More lessons learned.


I removed the seat back completely by cutting the steel cable, and placed all of the fittings and nuts and bolts into marked Tupperware containers.
  
I inspected the seat back. The old polyester resin repair job was separating and I will need to grind it off and repair the damage with the correct material.


Another point noted in my pre-sale inspection was that Charlie stated that the mechanical vario wasn't working for quite some time, and that he relied on the Audio during his flights. Right after I removed the seat pan, I noticed something unusual about the condition of the plastic tubing for the pitot static system.


The T-connector for the tubing that supplies air from the TE probe to the Vario's was disconnected (note the red circle) ... Gee do you think that could be the reason why the mechanical vario wasn't working! I'm surprised that the audio vario worked as well!


As I nosed around inspecting the Pitot Static / TE probe tubing, I found a Thermos bottle attached to the tubing, glued behind the seat bulkhead and against the outer wall of the main wheel well. It was crudely glued and taped together. This was being used as the capacity flask for the TE / Vario system.


This seemed to be to be an unusual item to be used as a capacity flask, but then again. It was officially certified, I think??? The thermos had a label on it identifying it as a certified part, well kind'a.


Robert came by the house to check on my progress. As he looked at the nose and inspected the tow release, he stated, "yep, that's the original release and it needs to be replaced".  It's a PTT looking for a place to happen!


The next focus was to remove the stick and the linkage's that followed back to the aileron controls and elevator.


It was a chore to remove the stick in such a tight spot, but I now had room to remove the pedals and the nose bulkhead. I next removed the electrical wiring (which was not aviation grade material) and the tubing for the Pitot Static system and TE probe.

The pedals came out easily. They are held in with one bolt. I just needed to cut the steel cables, and they too were free. The next task was to create a tool to allow me to reach in three feet and pull off the nose bulkhead. I had to create a rod with a flat-angled knife edge to remove the sealant around the bulkhead, and then use the same blade to pry the bulkhead off.

This task is not for the faint of heart! It was a royal bitch to get it off. The bulkhead is held in with six bolts, and a thick seal of what looks like plumbers putty.

Once that was accomplished, I was able to take the bolts off of the nose release hook. But before the hook would come free, I had to cut the Bondo away from the nose ring that completed a lip in the nose opening.
This was the last task for me to complete for this weekend.


By the weekend of May 15th, I had removed the landing gear actuation rod and the control rod for the airbrakes. I also removed the CG hook release.


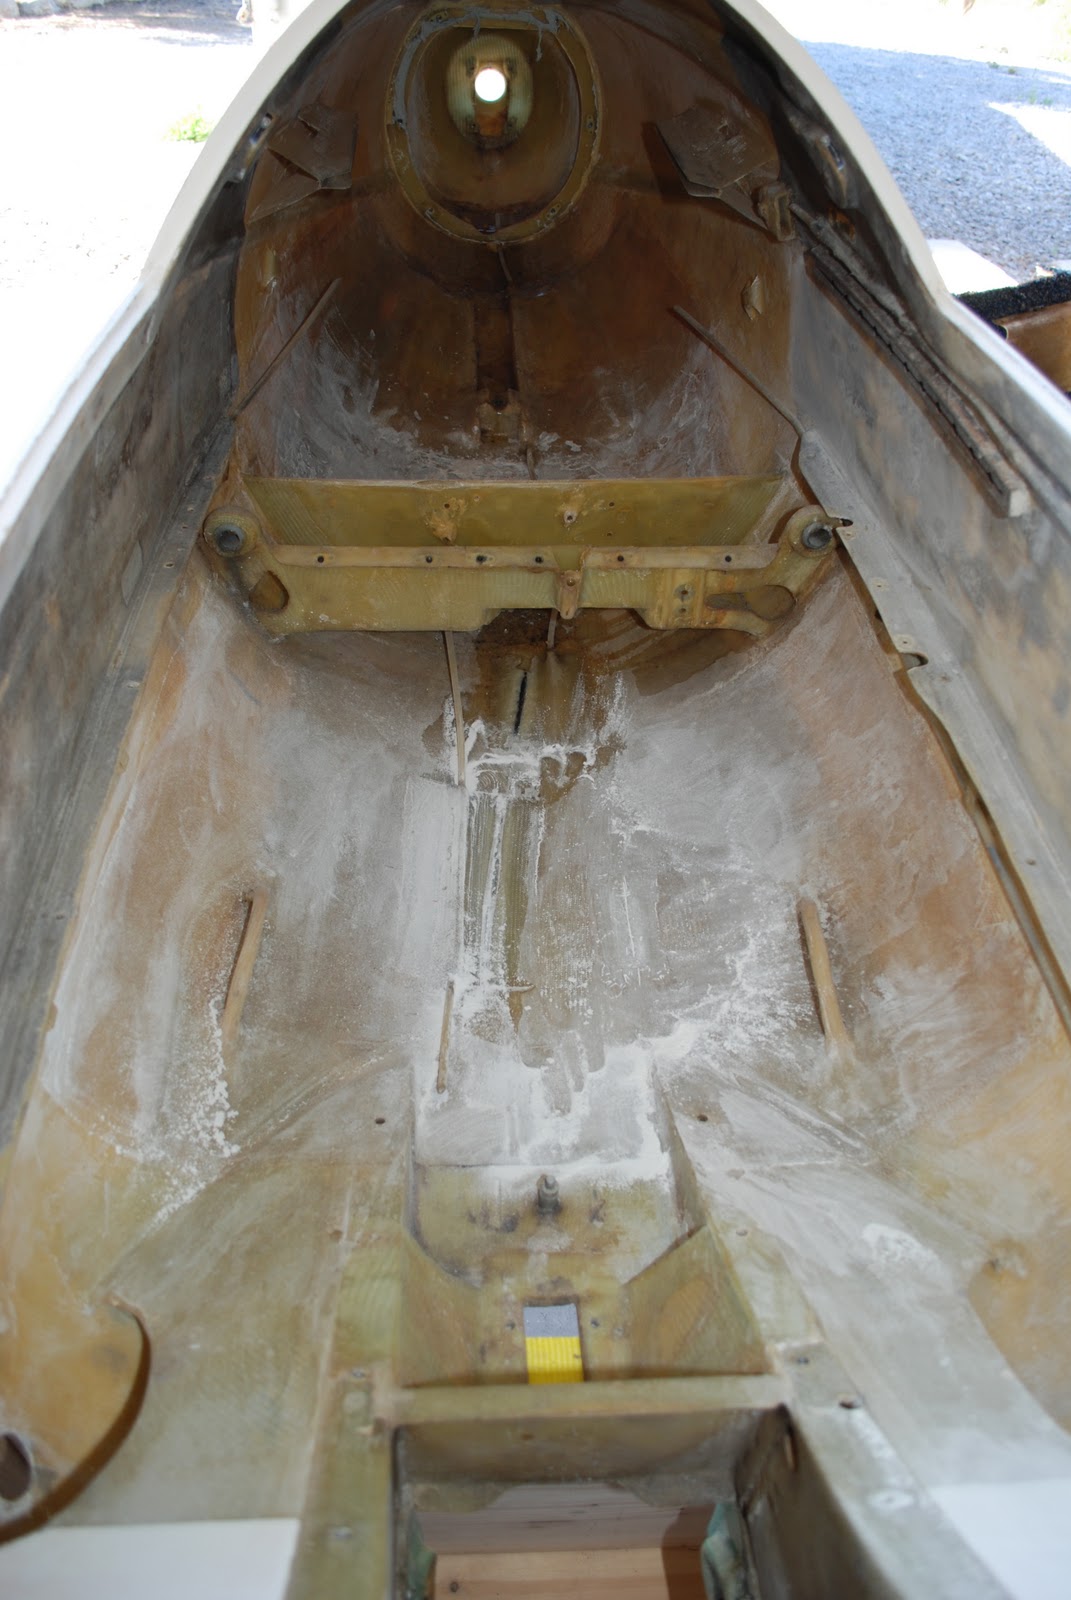


Once I completely gutted the cockpit , I started sanding down the loose fiberglass on the floor and cut away the mounting blocks and bolts for the lead weights.


But my life and project were due for a shake up in the weeks to come!

Thursday, November 25, 2010

Surprise, surprise, surprise!

On the weekend of May 8, I began to remove the contents of the cockpit.


The seat pan was covered in canvas.


And bolted to the floor, there were two canvas covered bags of lead used to correct the weight of the glider.


                                          Twenty pounds of it!


While I was working on removing the seat pan, I noticed something strange with the sides of the fuselage. At the widest point around the cockpit, the sides were flat! 

While the glider was sitting in the trailer, in the hanger for two years, the fuselage cradle squished the sides in.      Who ever made this rig, did a horrid job.

The cradle was constructed out of thick fiberglass, but when they made the shape, they did not take in account for padding, especially for the heavy indoor-outdoor astro-turf type crap carpet thickness they chose to use. The carpet was glued in the cradle, and then forced the fuselage into it, which over time changed the side wall contours.

Since the fuselage was finally free of the constricting cradle, the sides were gradually starting to push back out to the original shape.
  
Here is the problem, my measurements for my jig where based on the measurements made while the glider was in the cradle, and now the strap and 2x4 uprights where digging into the expanding glass sides.

I removed the fuselage from the jig, and worked on widening the upright supports. When this was corrected, I replace the fuselage back into the jig.


I pondered over the flattened sides and was disheartened to think of this deformity. I called Robert and told him of my findings. His recommendations were to take measurement of the Albuquerque Soaring Club's Libelle 201B there at the Moriarty Airport, and then create an expandable press to push the shape back out. Also, I would need to create templates of the contour to ensure an accurate shape.

To help the shape to expand, the fiberglass would need to be carefully heated while the press was in place. He also suggested the possibility that painting the outside of the cockpit sides with black paint, and setting it over turned in the sun. There might be enough heat to cause the sides to return to their natural shape without creating the press, but a contour template would still be a good tool to have.

While all this planning was going on, the fiberglass started to return to it's natural shape on it's own, after I corrected my jig, that provided a wider span.
As soon as I noticed this, I tried to warm the sides with a heat gun to see if that would cause the sides to widen even more. To my surprise, it did!.

It's funny how the cradle dolly doesn't fit on the undersides of the fuselage now. I removed the astro-turf and retried fitting it, but it is still too tight a fit. I even used a belt sander to thin the glass down, but it's still too tight.


There is no way in hell I'm using this cradle the way it is. It will need to be cut corrected, or refabricated.

Now, lets get back to gutting the cockpit!

Tuesday, November 23, 2010

The work has started

The following weekend after I brought the glider home, I began working on making space in the garage to create the room necessary for this project. My plan was to work on what I believed to be the most complicated part of the restoration, the fuselage. I had to create an elevated cradle. I measured the fuselage width at the widest area, forward of the leading edge pins.

I modeled the cradles from the ones Robert Mudd had at his hanger, where he used the same style to work on the repairs in work shop. 
   

As soon as the cradle was finished, I pulled out the fuselage from the trailer, and carefully rolled it into the garage. With the help of Louise, I lifted the forward portion of the fuselage, and slid it into the jig.

I still needed to build the wing dolly, which I finished the following weekend. 

With the cradle made and the garage cleaned up (for the most part), it wasn't until the first weekend in May that I was ready to start the restoration.

The first thing I tackled was removing the registration numbers, pilot name, and a thick US flag. This was an easy task since the lettering was vinyl. A heat gun and a plastic scraper made short work of that!

Before the day was over the lettering was removed, and also the tail wheel!


Now the most exciting task ahead of me, clean out that cockpit!

Sunday, November 21, 2010

From 42 Charlie to Naughty Nixie!

A little history during the early stages of the restoration

As soon as we started the process of new ownership registration of 7742C with the FAA, I moved to change the N number from 7742C to 623NX. It's funny, that during the time I spent looking up the history on 42 Charlie, (an not finding any history with the NTSB),  it wasn't until I looked at the aircraft records first hand to discover that the original registration was 41R.

They say when you are looking to buy an airplane, it's best to contract a broker to run a history on the plane you are interested in. The problem there is timing. It's a Catch 22, while you are in the works on running history and title report, someone can jump in an grab the plane you are interested before you hear back from your broker.

The NTSB did have at least one record of a hard landing with 41R. So, I knew that she had a sordid history, and since 41R already had a register change once, I felt that there was no bad luck in changing it again, like renaming a ship.

Just before I picked the glider up, Louise and I discussed possible new registration numbers. I was also looking at the contest registration at the SSA. Since our balloon was 623KL "Kolibri", we settled on the same number, but it was the last letters that jumped at me, "NX". It reminded me of all of the early aircraft that pioneered advances in aviation, Their prefix registration always began with "NX". Also, the SSA had the NX opened in the registry. So we reserved the N number 623NX with the FAA.

Later we pondered on a pet name for the bird. A few days after we received the new registration papers and the confirmation of the N number change, I sang out "Nixie is ours"... The strange thing is, the name Nixie , or Nixe in German, are river or stream Nymphs (river mermaids) from old German Folk Lore. Libelle in German means Dragonfly, and a juvenile dragonfly is known as a nymph. How fitting!
So, say hello to Nixie!


Tuesday, October 26, 2010

A new roost for an old bird

On April 18, Sunday morning, Louise and I drove to Moriarty to have Robert Mudd inspect the bird for the first time.

We pulled up to the hanger of Composite Aircraft Repair. We were greeted by Robert and a few other pilots interested in seeing what I bought.

As we started unloading the glider from the trailer, many ideas and suggestion started flying around.
Robert commented that he liked the trailer, and some modification could be done to better protect the glider.


Just then, Rick Kohler of Sundance Aviation, and my all time instructor, walked up and gave the Libelle a look. He smiled and said to me, "Looks good, "Just fly the hell out of it!"


 Robert started his brief inspection and started pointing out areas that I should focus on for repair. Most of the issues where superficial trailer rash damages that needed repair, like the big ding in the trailing-edge of the rudder. Here is where we first started the disassembly. Off came the rudder and now I have a bag of bolts.


 He then stated, "I would really like to see the condition of the wing mounts and spars. You need to get those cleaned up a sanded down". At that point, I knew that a complete overhaul and strip down would be the best overall plan before flying this bird.

The proud owner of a project!


"The battle to buy a glider is over, the battle to restore one is about to begin".

Home again, home again!

Thursday morning, in order to avoid the morning rush hour, I started my way to Tacoma Narrows Airport at the crack of dawn. The roads were quite, and just shortly after I arrived at the airport, Charlie showed up to open the hanger. We loaded up the trailer, and I put the temp tags on. I inspected the tires and they did need air. As Charlie and I departed I stopped at the FBO to see if i could get the tires filled with air. A kind line mechanic added air to the tires and I was off to Pasco Washington to pick up my truck.

The loaner truck and trailer handled well while I traveled through the mountains and in no time, I was pulling into the Ford Service station to pick up my truck.

They had the truck ready when I arrived and I hooked up the trailer, and I was off to New Mexico. I again made my evening stop in Idaho. The truck was holding up well. Saturday morning i was off again, with my plans to get home that evening. For the most part, my travels were uneventful. the roads became busy as I drove through Moab Utah. It was spring and every Jeep, dirt-bike and four-wheeler where hitting the trails in Monument Valley.

I pulled into my driveway about 9pm. The end of a long road trip, over 3200 miles in four days.

The next morning I was looking at a new sight in my driveway.


Sunday, October 24, 2010

Travel and turmoils

As soon as I returned from Tacoma, I scrambled to get ready to drive back to pick up my new toy!

First, I drove my truck to the service department to get it checked out, and to have an oil change. Next there was the need to get a temporary tag for the license of the trailer. I brought the bill of sale for the trailer, but since we used the same pen to fill out the form, the New Mexico DMV would not accept it. I had to email the form back to Charlie and after he filled it out, he had to rush it back to me. Once I received the form from Charlie, the NMDMV accepted the document and provided me the temp tag needed for the trailer so I could legally cross state lines.

I hit the road at 5am on Wednesday morning. my plan was to drive all day and then spend the night in Twin Falls Idaho.


The drive was for the most part uneventful.
Blue skies and good roads driving through Utah.


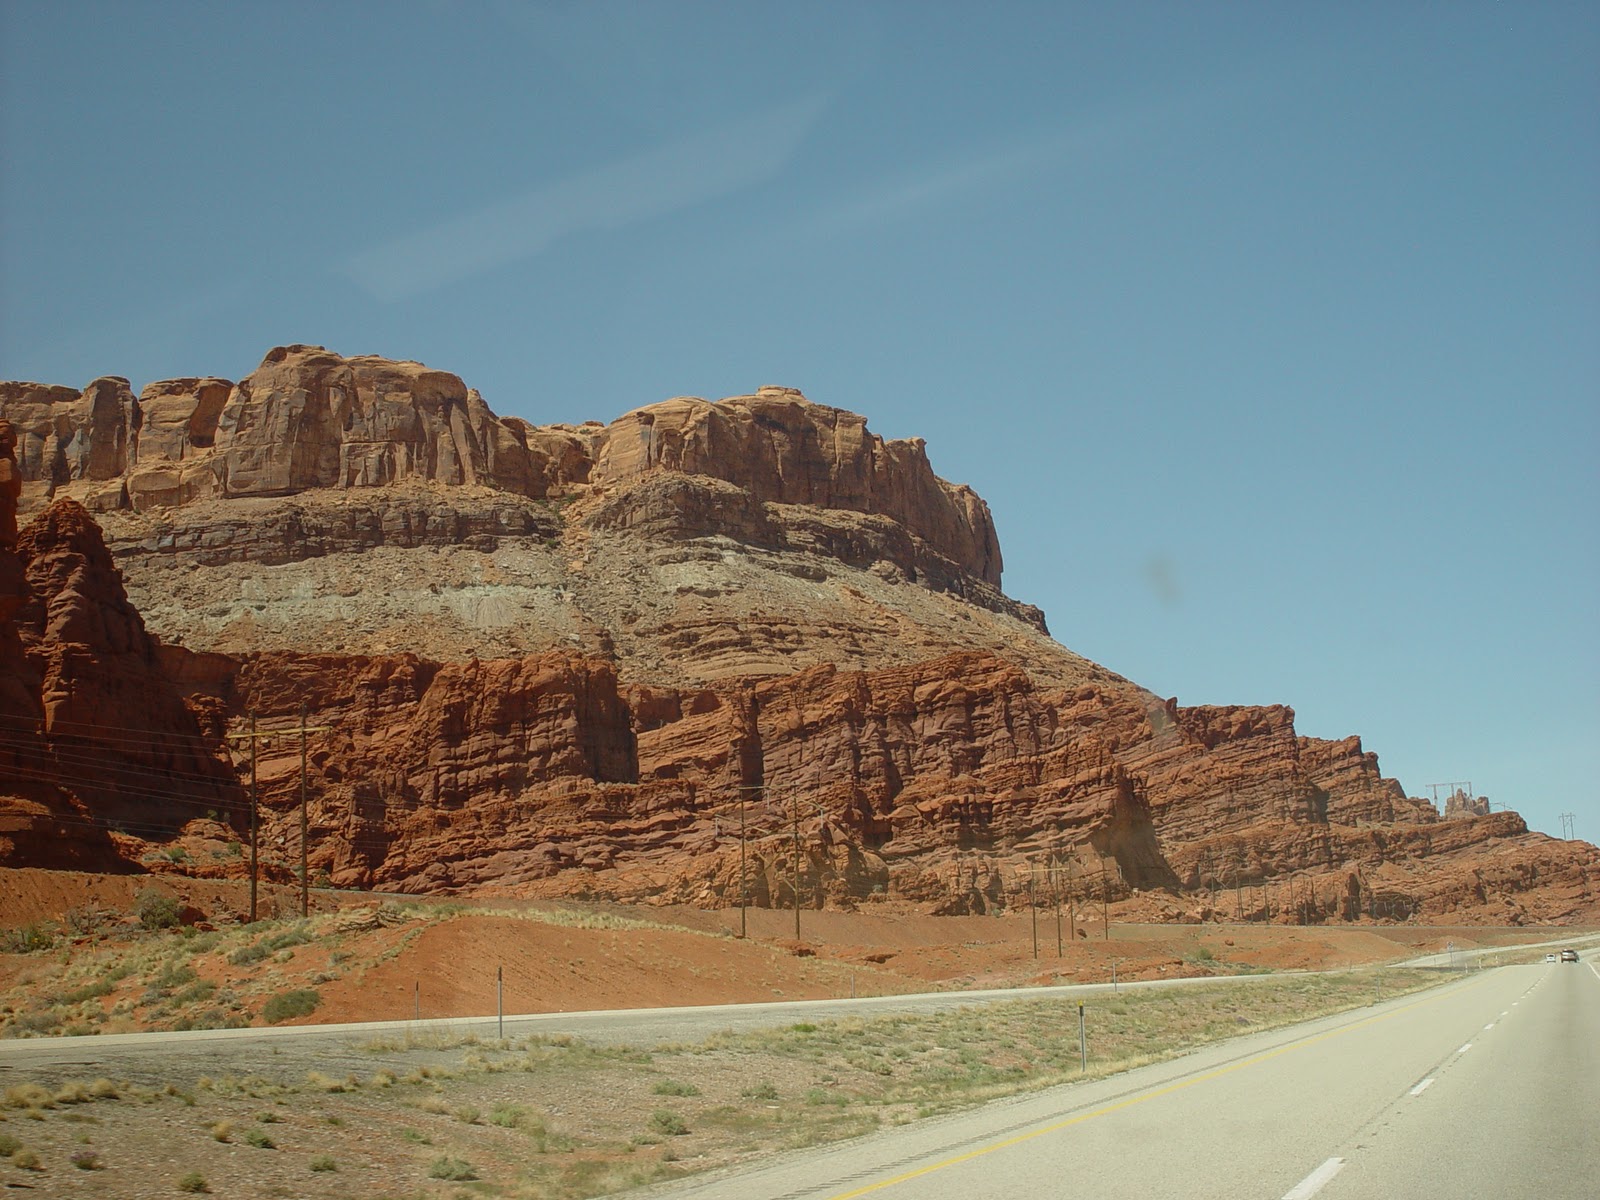
And with some interesting rock formations! (looks like Mrs. Butterworth)


Once I arrived in Salt Lake City, it was the height of the 5 o-clock rush hour, which slowed my progress, but as soon as I cleared the city limits, it was smooth sailing again.

It was around 9pm when I arrived in Twin Falls. Just as I pulled into the hotel parking lot, I noticed a strange sound coming from the engine when I was turning. I inspected the truck, but I didn't notice anything. I figured that I was just hearing things due to fatigue.

The next morning, I did another walk around on the truck and inspected the engine, but still, I did not see or hear anything unusual.

Well, there was a problem. When I was just east of Pendleton Oregon I noticed the steering started making a sound as I applied the brakes. I pulled into a rest stop and looked under the hood again, this time I noticed fluid dripping from the left side of the engine in front of the left wheel well. It was the hydraulic fluid that is used for both the power steering and brakes. I called Louise to have her check the Internet for the nearest Ford Service station. It turned out that the nearest one was sixty miles away in West Pasco, Washington.

I called the Ford Service to ask them if I could still drive the truck long enough to get it there, they stated that it was possible providing that I was conservative on my braking.

So I carefully drove the truck to the Ford Service. I now was concerned on what happened and how much it will cost to fix it.

I pulled into the Ford Service Center at 12 noon, and without waiting, the technician pull the truck into a bay. After 45 minutes., the verdict was in...... the main seal on the hydro boost blew and the impeller on the power stirring shattered. OMG! how much was that going to cost, and how long would it take? The Service manage stated that the cost to repair the truck would be just over $1000.00 and would take most of the day to complete the task. Now this was something I didn't need. I was already counting on that cash to help with the cost to get the sailplane flying. I called Charlie, and informed him of what happen and I would be delayed in getting to Gig Harbor.

A short time later, the Service Manager wanted to show me what needed to be replaced, as soon as I rounded the corner I noticed that the area that was being repaired was located near the exact location of where my wife just four months earlier was involved in an accident. I informed the Manager of my suspicions that the damage could have been related to the accident. After he and his tech both looked at the parts, they stated that it was possible that the damage could have been the results of the accident.

As the time was nearing 5pm, I was getting concerned, when the sales manager walked around the corner and informed me that they need a part to finish the repairs, and that the truck would not be ready until the next morning.

Just when things where looking bleak, the General manger offered me the use of one of their demos to pick up the glider.

They new that I needed to get to Tacoma that night and were OK with me keeping their truck overnight. So by 6pm, I was back on the road to Tacoma. I knew that I had over fours of driving ahead, and it would be too late to pick up the glider. I called Charlie and informed him that I would pick the glider up first thing in the morning, and that I would be spending the night in Seattle.

The drive to Seattle was uneventful, and I was able to get a room at the hotel I stayed at four days earlier.